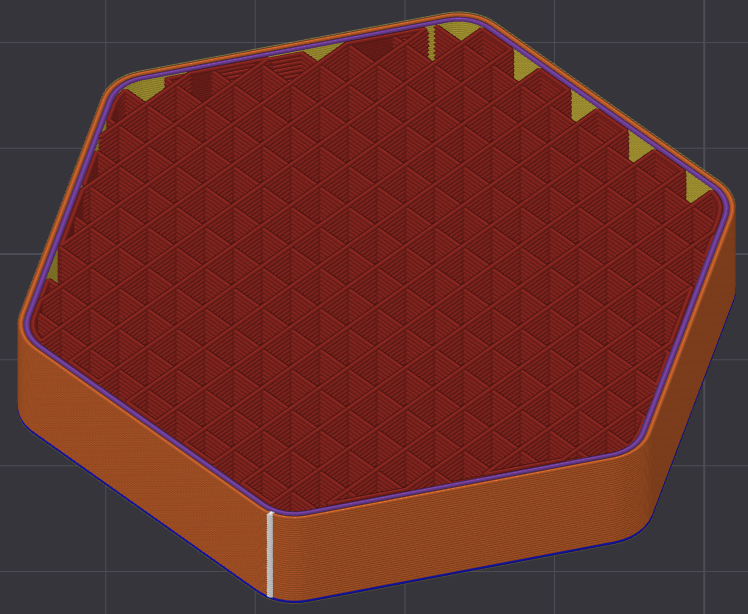
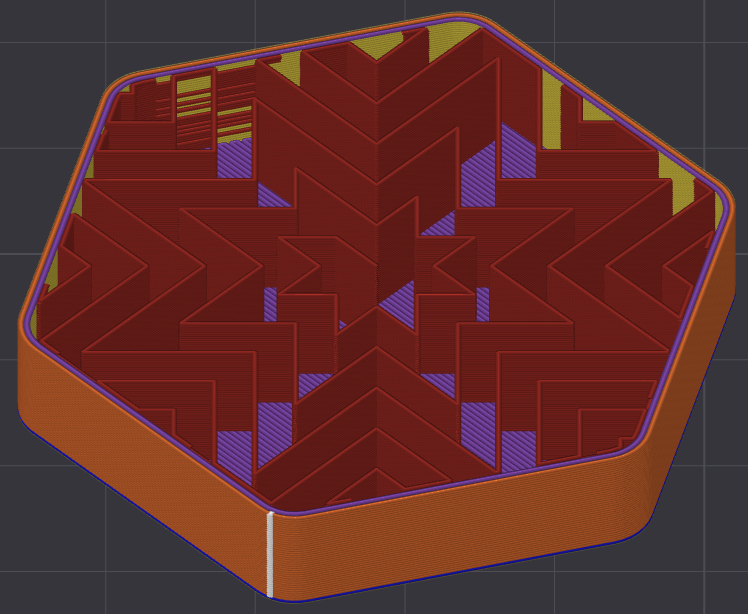
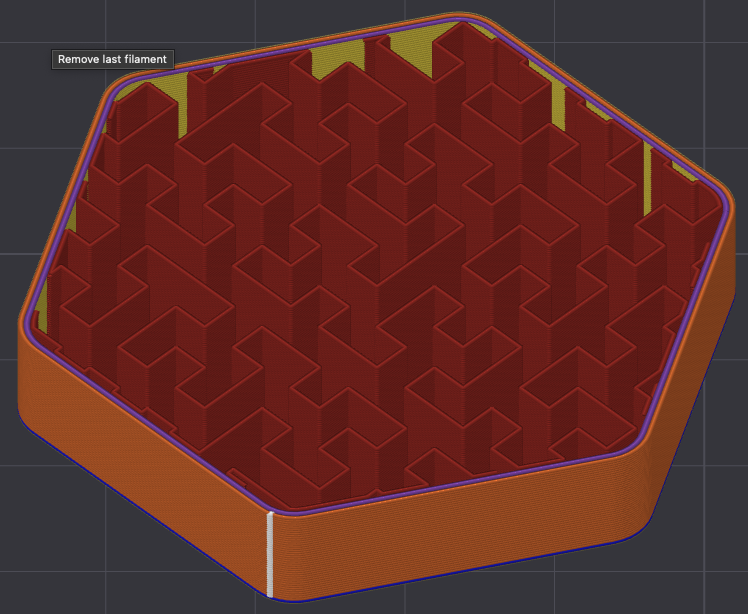
Structure Filling Patterns (Sparse infill patterns)
Sparse infill is the internal structure of a 3D print that balances strength, weight, flexibility, and print time. The Bambu Lab P1S (with Bambu Studio) supports a wide variety of infill patterns, each optimized for different needs.
Summary
| Image | Pattern | Advantages | Disadvantages | Common Use Cases |
|---|---|---|---|---|
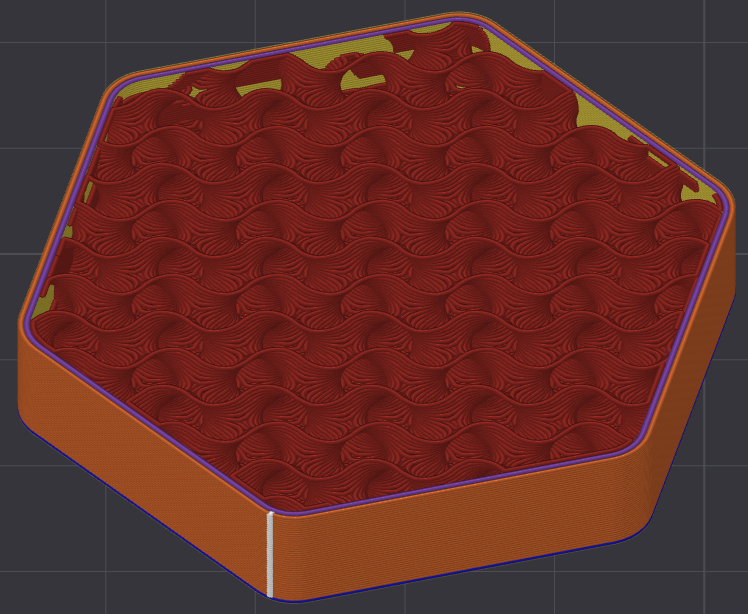 |
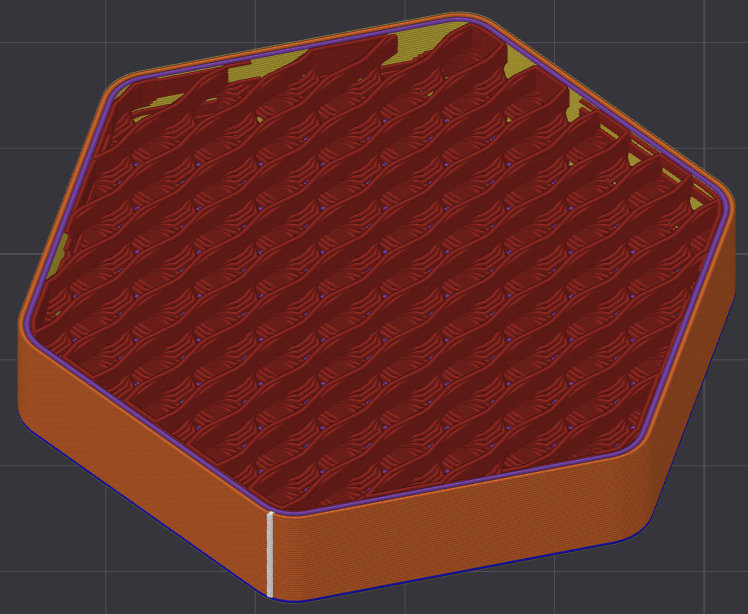
Gyroid | Isotropic, efficient, fast | Slightly less rigid than grid | General-purpose, flexible parts |
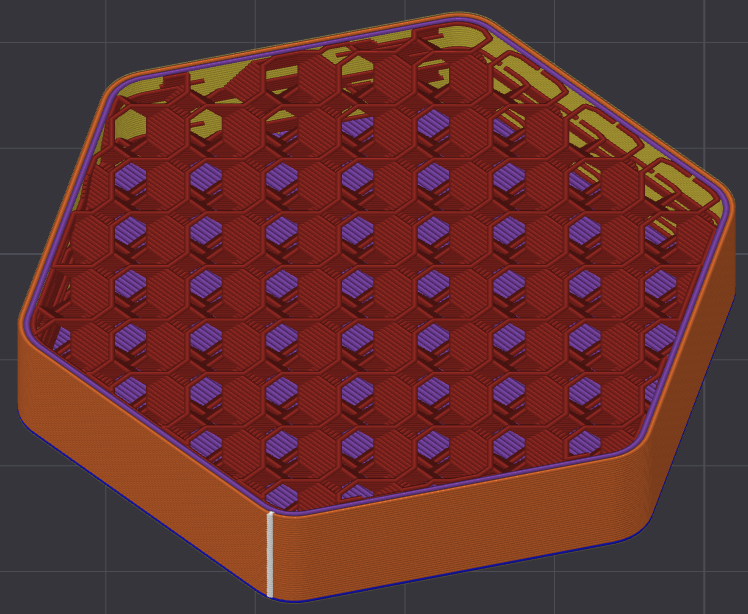 |
3D Honeycomb | Very strong in X/Y/Z, aesthetic | Slower, more material | Strong functional parts |
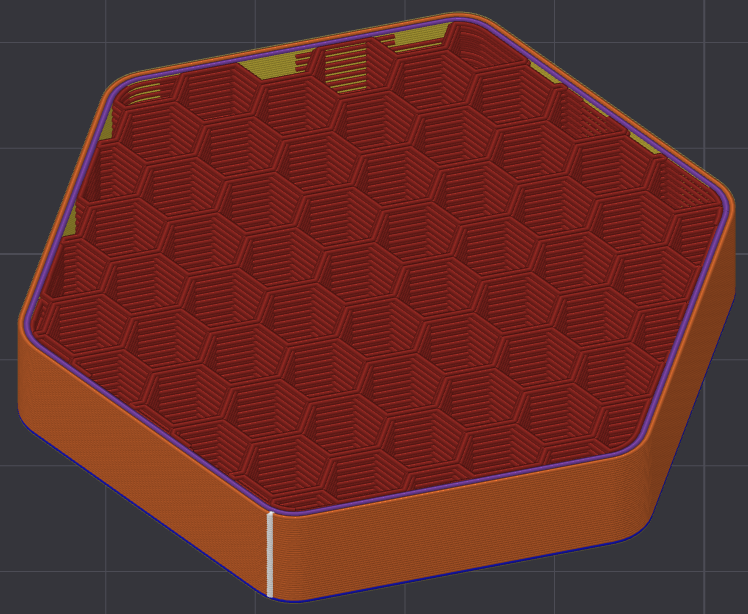 |
Honeycomb | Very rigid, classic | High material usage | Functional parts needing stiffness |
 |
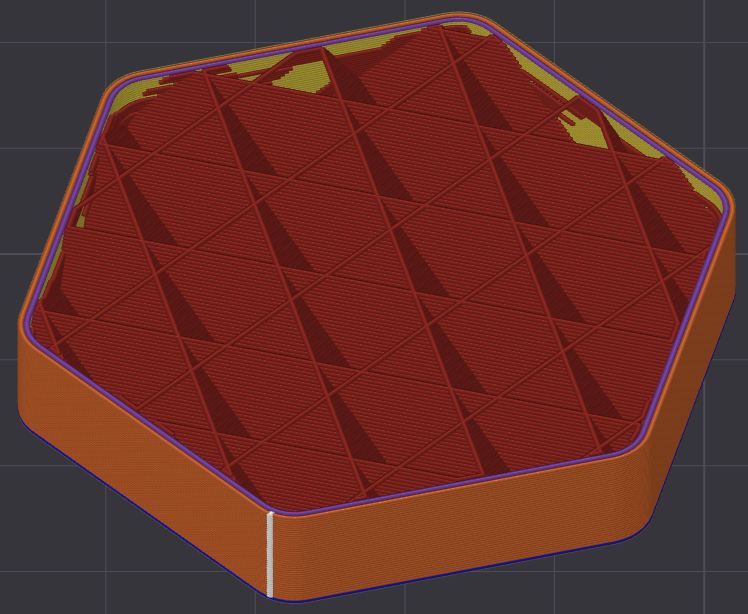
Tri-Hexagon | One of the strongest patterns | Slower, high material use | Functional load-bearing parts |
 |
Grid | Fast, simple, rigid in XY | Less strength in Z | Default for prototypes |
 |
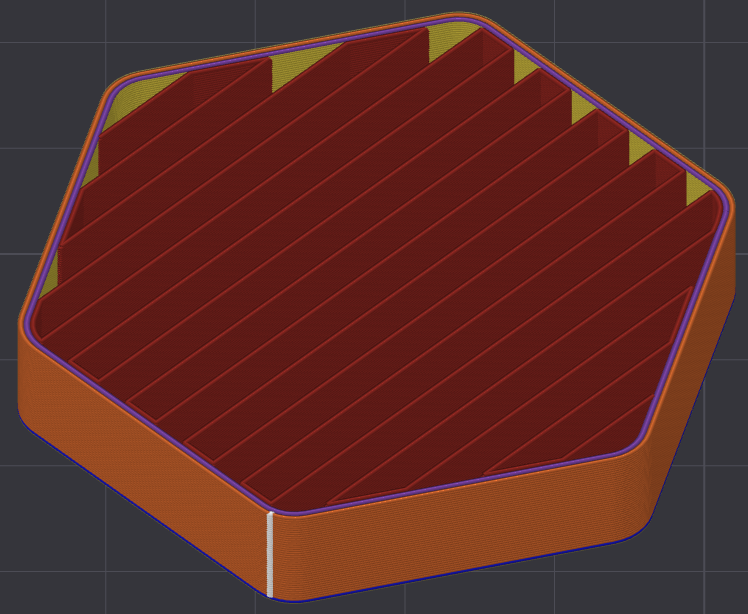
Rectilinear | Fast, predictable | Weaker diagonally | General prints, prototypes |
 |
Line | Fastest, minimal filament | Weak in Z, anisotropic | Drafts, quick prints |
 |
Cross Zag | Balanced strength, easy removal | Slightly slower | General-purpose prints |
 |
Lighting | Very low material use for support | For support only | Support structures |
 |
Adaptive Cubic | Variable density, efficient | May create uneven strength | Large parts, optimized infill |
 |
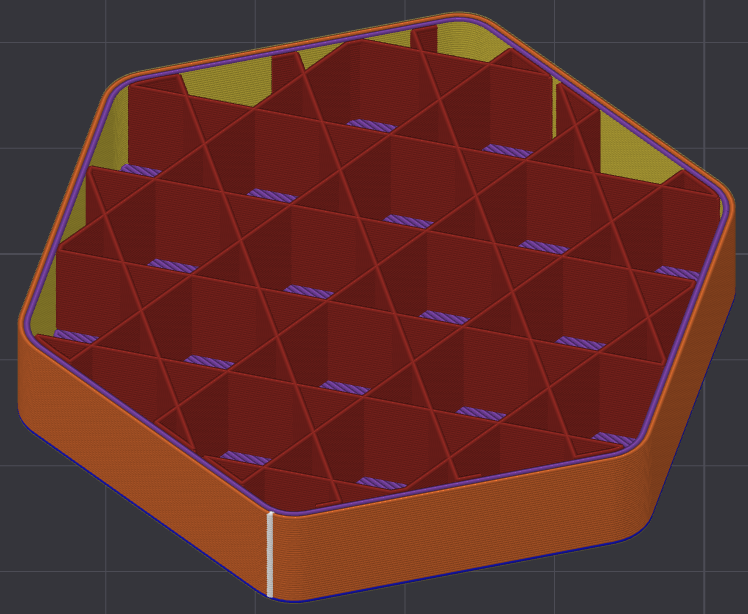
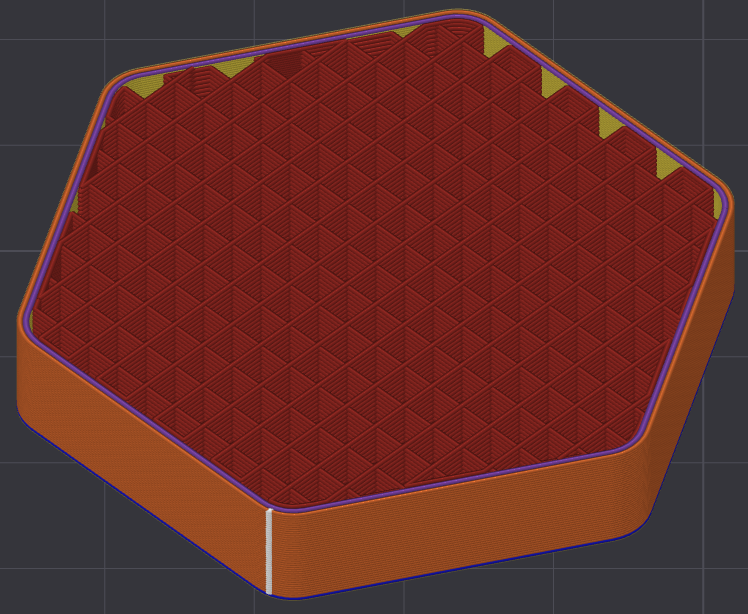
Crosshatch | Strong, rigid | Harder to remove | Structural parts, supports |
 |
Cubic | Isotropic strength | Slightly more complex | Mechanical parts |
 |
Support Cubic | Minimal support material | For support only | Support structures |
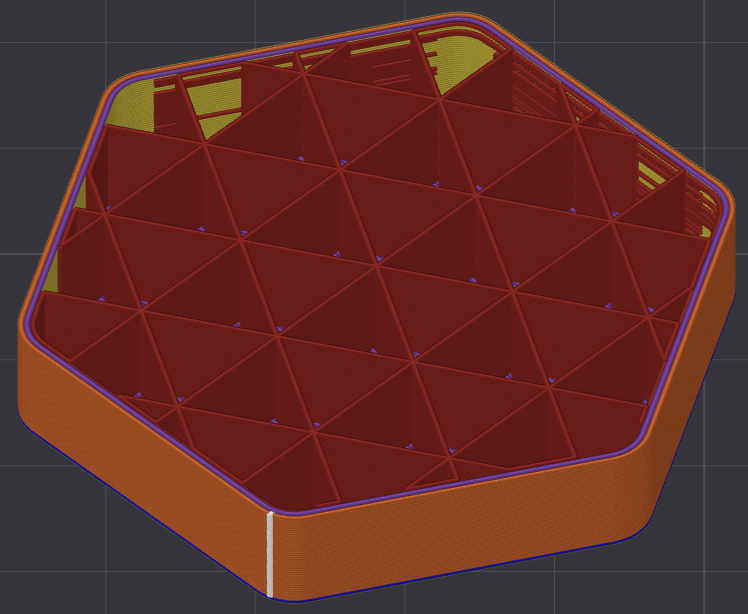 |
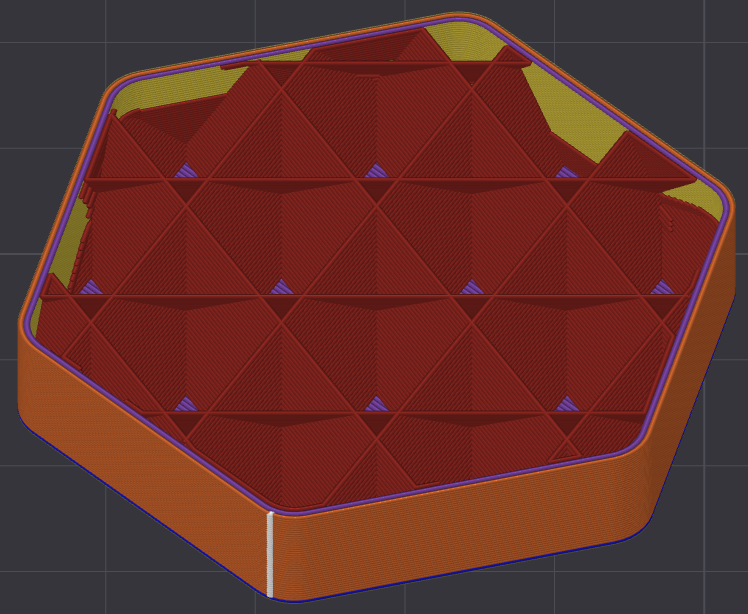
Triangles | Very rigid in-plane | Brittle under shear | Brackets, flat parts |
 |
Aligned Rectilinear | Easy print, consistent direction | Weaker in cross axis | Simple geometries |
 |
Zigzig | Fast, similar to line | Weak, decorative | Drafts, aesthetic lines |
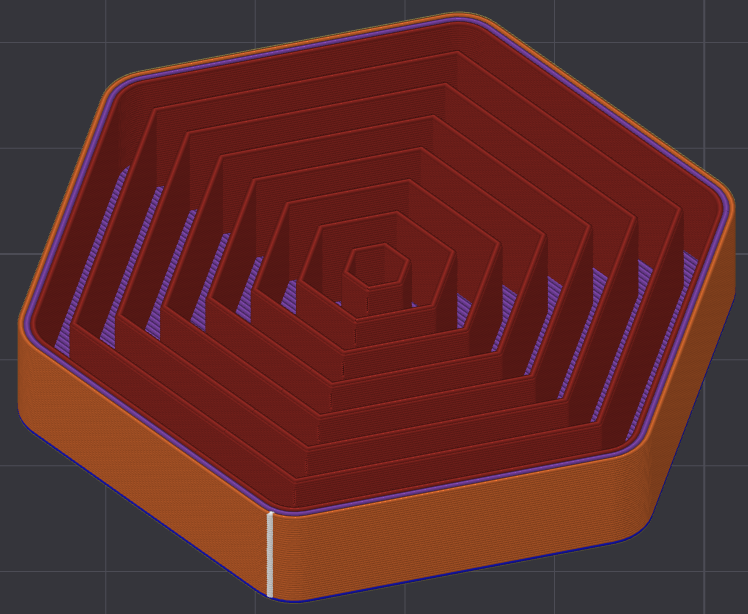 |
Concentric | Good flexibility, follows shape | Weak structural strength | TPU/flexible prints |
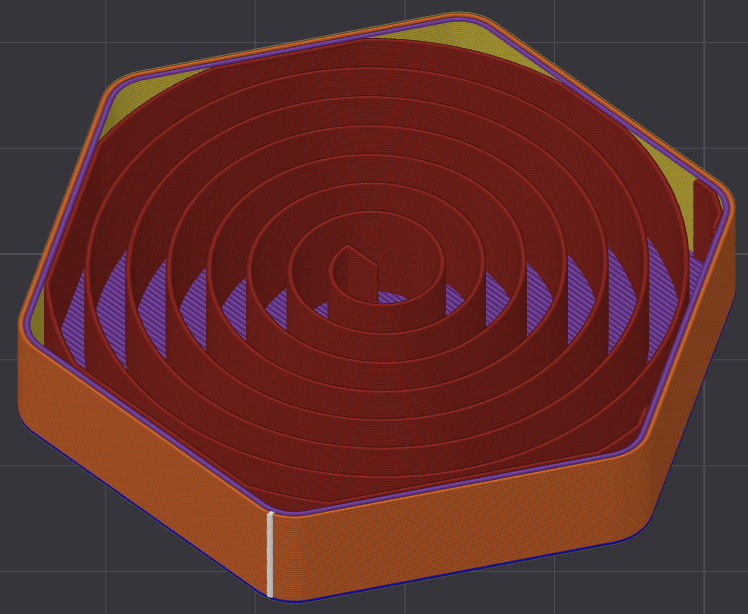 |
Archimedes Chord | Aesthetic spiral | Not optimized for strength | Decorative objects |
 |
Octagram Spiral | Decorative, aesthetic | Not structural | Art, vases |
 |
Hilbert Curve | Continuous line, aesthetic | Not strong, slow | Art pieces, visual infill |
Sparse Infill Percentages
The infill percentage sets how dense the internal structure is, balancing strength, weight, print time, and flexibility.
Typical guidelines:
| Infill % | Usage |
|---|---|
| 0–5% | Hollow parts, vases, pure decoration |
| ~15% (default) | Good balance for most prints, prototypes, enclosures |
| 20–40% | Functional parts, added rigidity |
| 50% | Rarely needed — for very strong or load-bearing parts |
| 100% | Maximum strength, solid parts (threads, inserts, machining) |
Notes:
- 15% is a great default — works for ~80% of prints.
- More than 50% is rarely necessary — increases weight & time significantly.
- 100% only for parts needing maximum rigidity, post-processing (tapping threads), or machining.
- Gyroid / Cubic patterns are especially efficient at 15–25%.
we use privacy-first analytics
that don't track you with cookies.
no personal data is collected.
GDPR & CCPA compliant.